Where to eat in London? Where to start?
I’m not a very organised traveller. Unlike some of my friends who research, pre-book and set off with a gastronomic itinerary, I have enough trouble just getting myself on the plane. Inevitably I miss out on some great experiences – I’ve yet to get to any of Yotam Ottolenghi’s eateries – but I’ve also made some memorable discoveries by leaving things to the last minute. An element of risk sharpens the appetite and on this latest stay in London I was amply rewarded by leaving it to chance and the helpful advice of friends on the ground.
People say London is a city of hidden treasures. It’s true. I was born in London and I spent some time living and working there back in the 80s but I wouldn’t say I know it. I’ve barely scratched the surface and I don’t think I’ve ever been to Shoreditch, much less the former housing estate where I was taken for lunch by my friend Jody and her son Charlie Scott, a promising young chef, currently working at La Gourmandina in Bloomsbury.
The red bricked Victorian era estate, complete with its own school, was sold under Thatcher’s controversial Right to Buy initiative – a policy that led to the dramatic reduction of social housing. Now renovated and gentrified, the Boundary Estate is home to several design businesses and a casual-chic restaurant that’s located in the former bike sheds and playground of the old school. Named Rochelle Canteen, after the school, it’s entered through a small doorway marked ‘Boys’. It’s not easy to find – the only clue to its whereabouts is a signboard on the pavement outside – but press a buzzer and the door opens on to a walled garden with a well kept lawn, outside tables, and a raised vegetable garden that supplies a menu that changes daily.

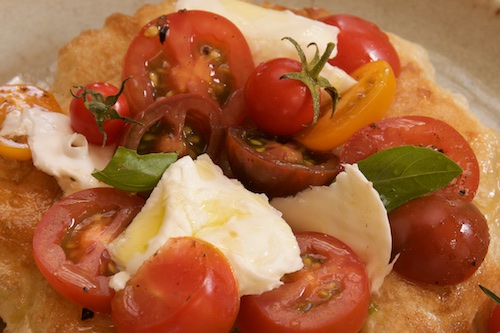
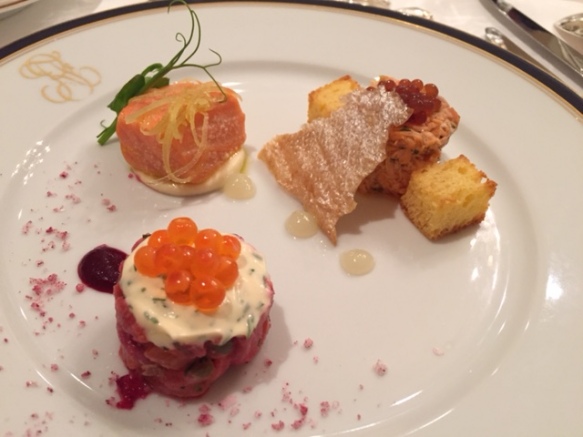
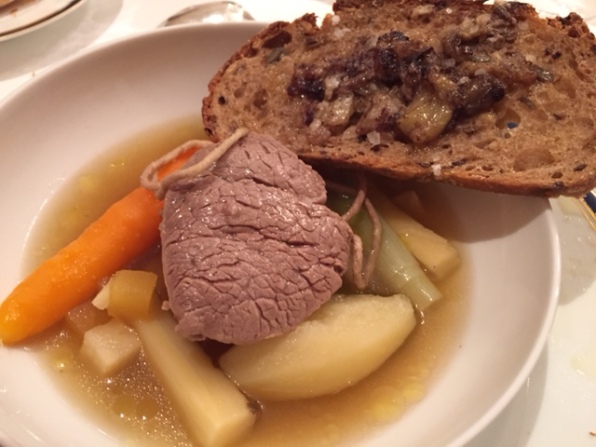
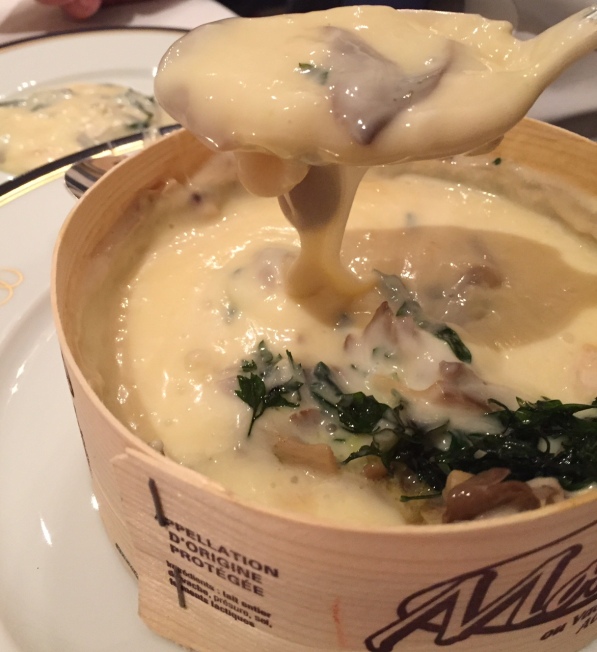
The menu is as English as the garden it’s served in. Gull’s eggs with celery salt, smoked cod’s roe with radishes, cucumber and lovage soup, poached salmon, heritage pork (Gloucester Old Spot) whole crab, marsh vegetables and little brown shrimps just like the ones from the Wirral Peninsula where I grew up.

It made me nostalgic for the England I remember through rose-tinted glasses: badgers in the woods, cricket on the village green, gooseberries in the garden and potted shrimps on Sunday. I had to order the lemon posset, how could I not?
The food was effortlessly simple and beautifully flavoured. It reminded me of Nikau Cafe in Wellington. The ambiance was light and airy, the service friendly and snappy, and the vegetables were superbly presented – picked straight from their garden beds and served raw, lightly steamed, still crunchy or wilted for maximum flavour.

It helped that London had turned on the sunshine the day we visited. The outside tables were full and there was the barest sniff of a barbecue coming from the open air grill as as it charred the edges of a my entrée: skewers of rabbit offal (juicy, tasty, smokey, delicious).

The offal was a clue to the ownership of the restaurant. Charlie told me it was owned by two women, one of whom was married to nose-to-tail chef Fergus Henderson of the celebrated restaurant St John. I put two and two together when my lemon posset arrived with a stick of ginger crunch. I knew Fergus was married to a New Zealander and, as luck would have it, Margot Henderson was seated at an outside table. I stopped by for a chat. Margot is originally from Wellington so we had friends and places in common. She told me she visits Wellington once a year and the first thing she does on arrival is head into town for lunch at her favourite eatery. I got it in one. Nikau at the City Gallery. Of course.
- Rochelle Canteen
- Arnold Circus, London E2
- Underground Station: Old Street on the Northern Line
- Reservations (essential) 020 7729 5677
- Mains GBP 14.00 to 18.00